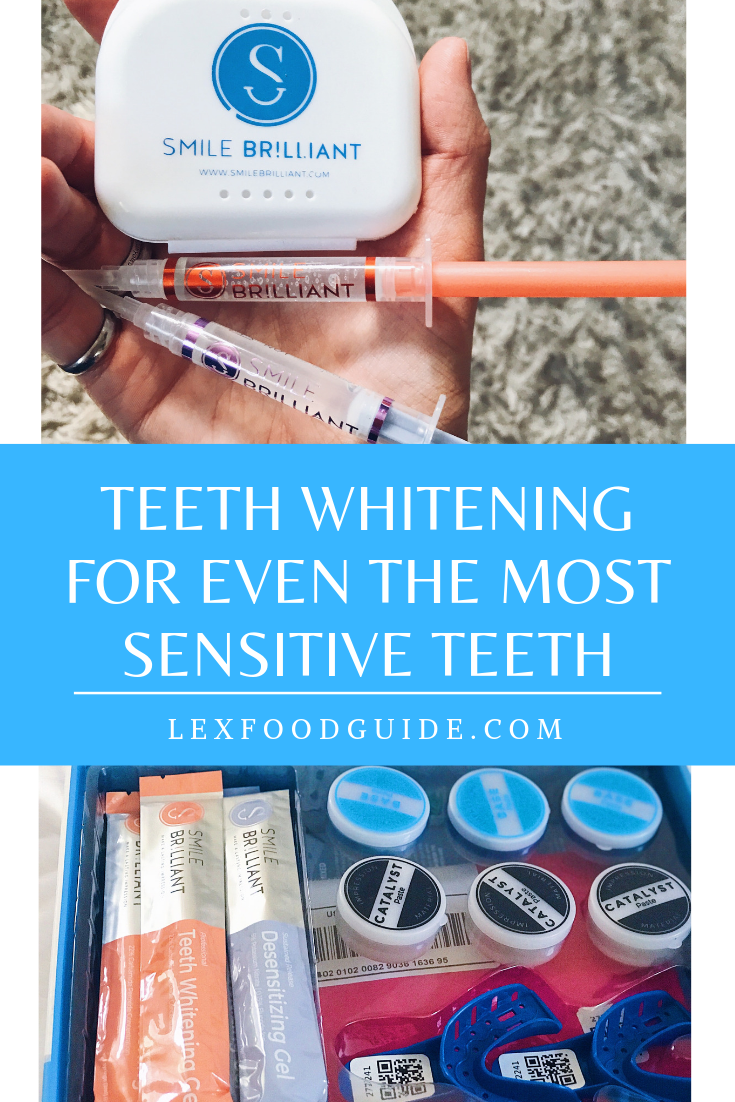
Teeth Whitening For Even The Most Sensitive Teeth
As a grad student and an avid foodie, I put my teeth through a LOT. Constant coffee and Coca-Cola + all the new foods and sauces I'm trying = Yellow teeth for dayssss. In (very sad) attempts to fix this, I've tried every teeth whitener out there over the years, but I've just never been able to find one that's worth the effort. Strips barely stay on your teeth, the make-your-own teeth molds are so bulky, and don't even get me started on the huge LED emitters that go with all of them(that aren't actually even strong enough to really be helping - ugh). I'd honestly begun to just give up on my dream of pretty teeth, until I found Smile Brilliant.

It only took one whitening session for me to see what the all hype was about, and I immediately fell in love with this whitener. The first and best part about Smile Brilliant? You get custom fitted trays for your whitening. And at first I didn't get why this was such a big deal. I mean, those boil-and-mold ones are technically "custom fitted" too, aren't they? WRONG. These custom fit trays are SO different. They are perfectly molded to fit exactly how your teeth need (they slide on so naturally it's like they've been on your teeth your whole life), and my favorite part? They're SO SLIM. It's like they're barely even there. I used to struggle to keep those other bulky molds in for more than 10 minutes, but on my first go with my new trays, I forgot they were in and left them for almost 2 hours! Talk about crazy; I'm pretty sure I couldn't have whitened that long with my old whiteners if my life depended on it.
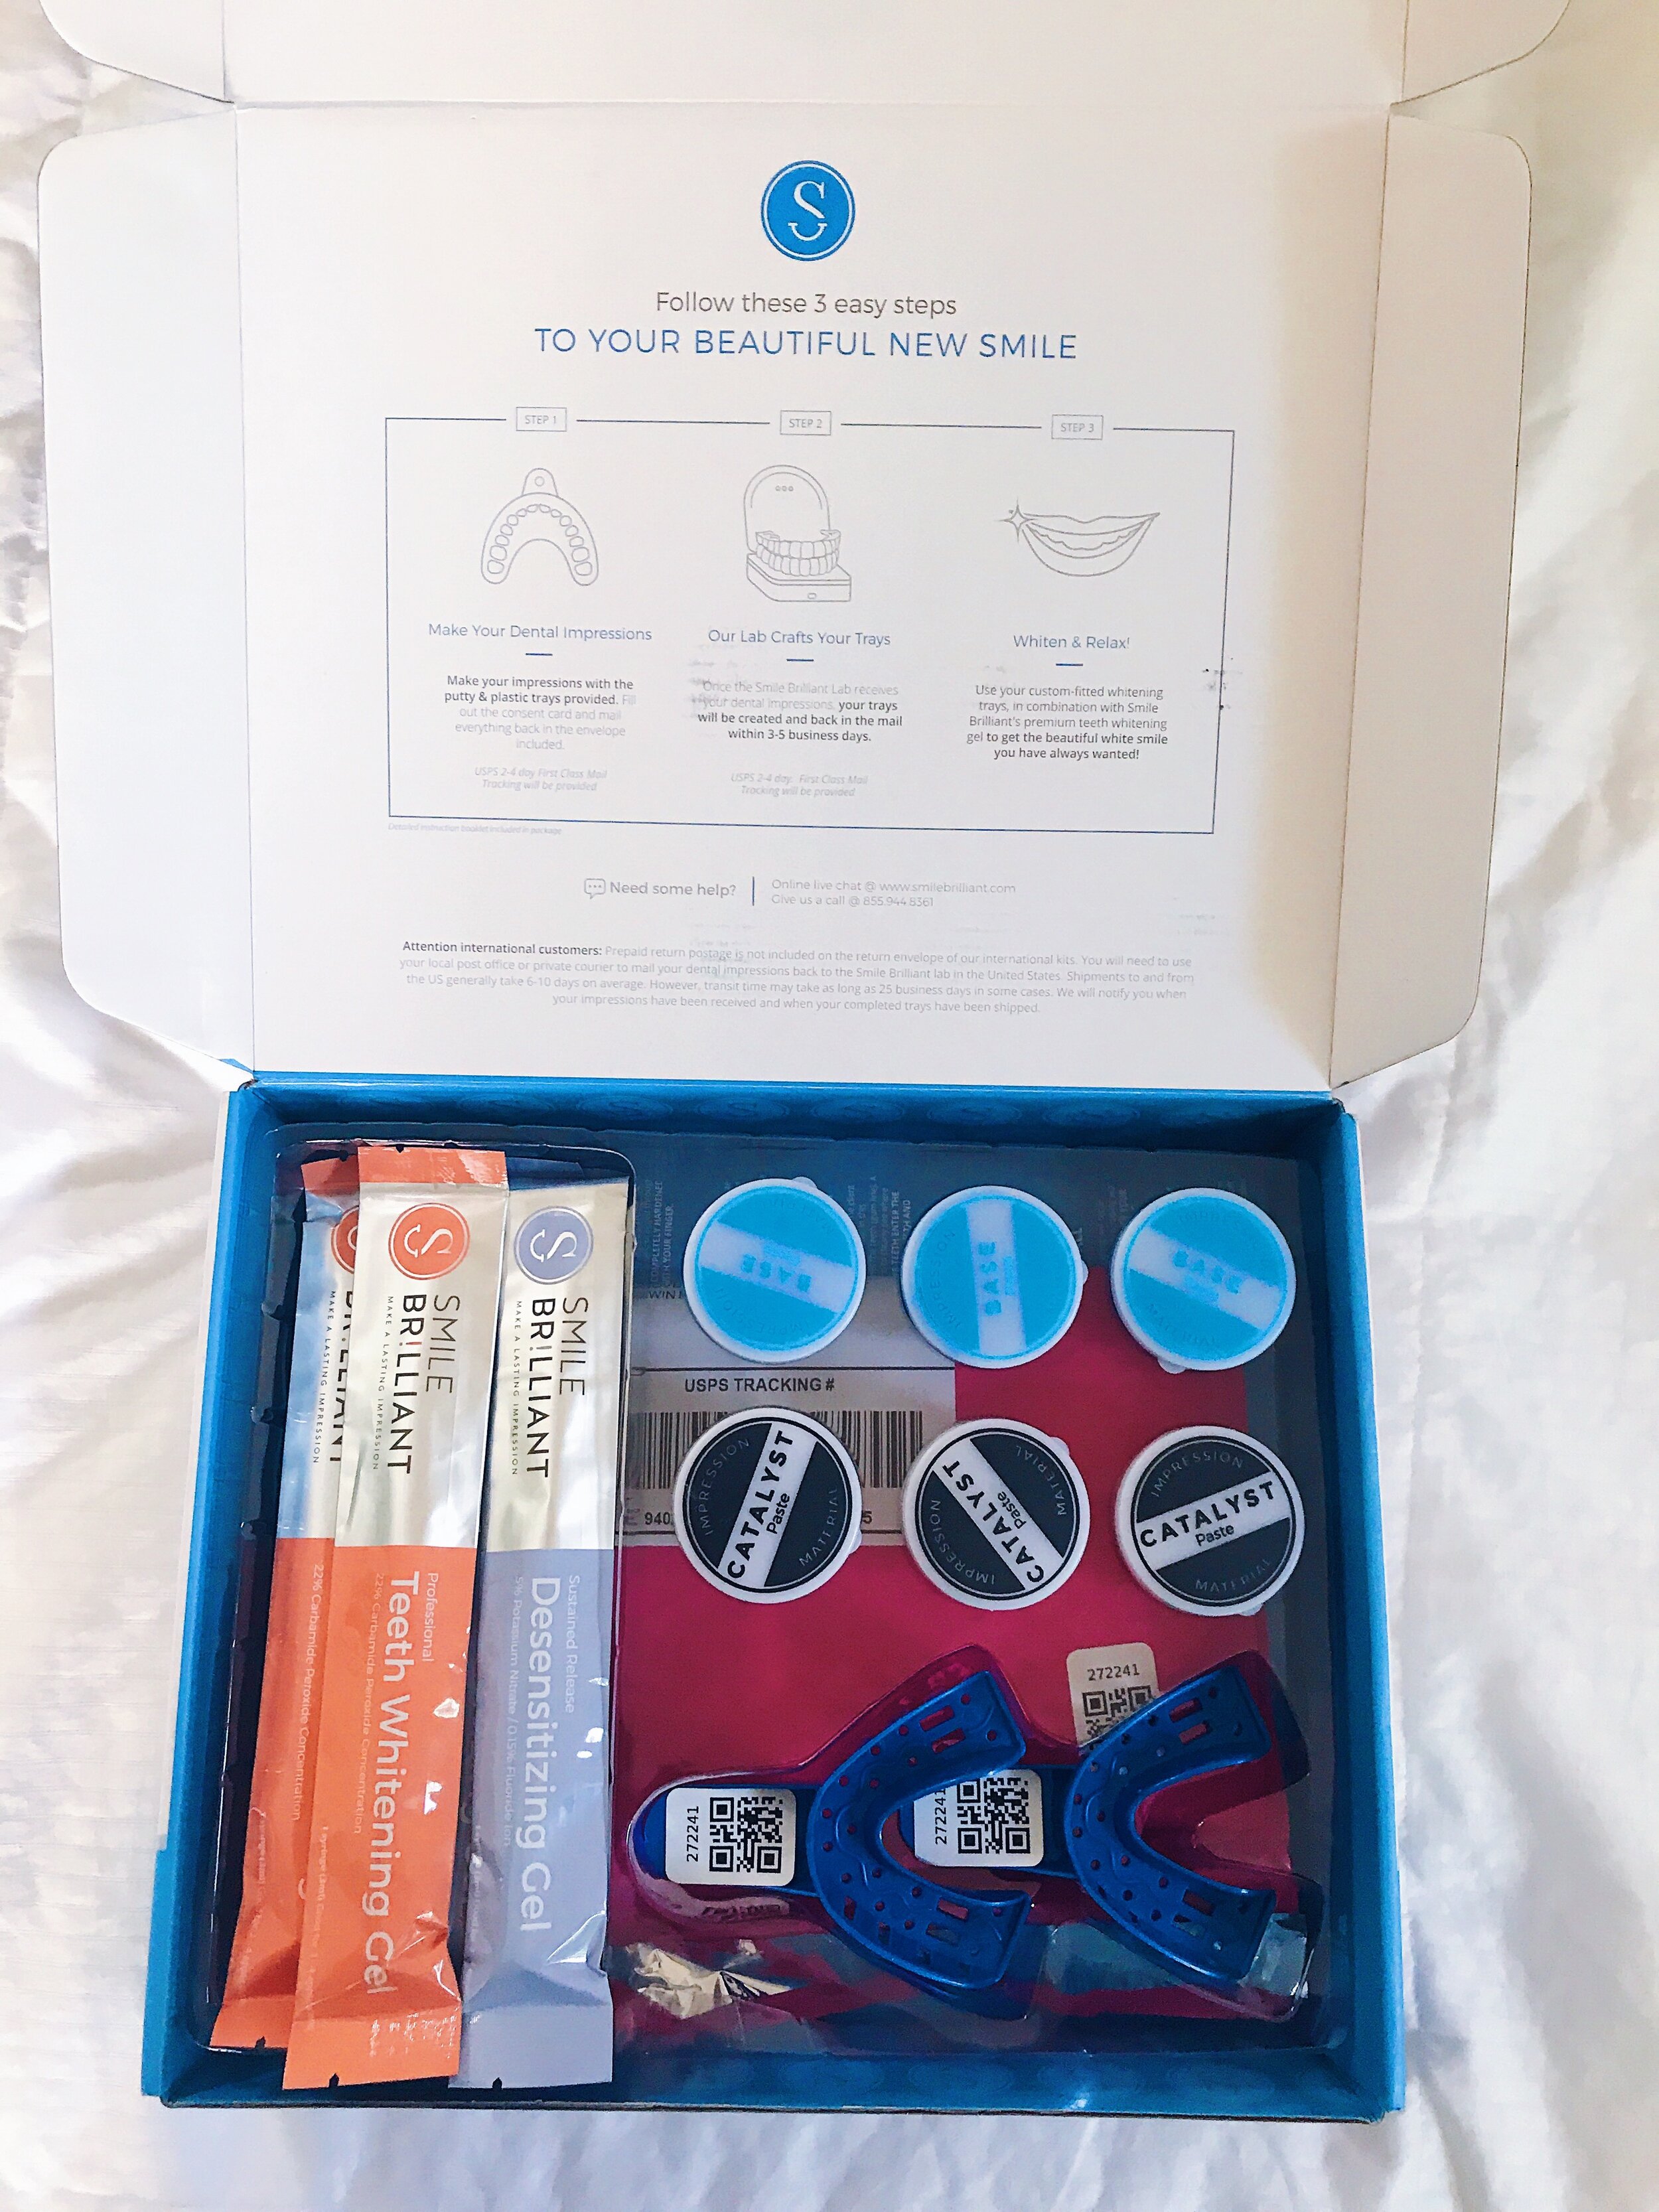

But maybe I should take a break from raving about these trays for one second to tell you how exactly they work. First, you'll get your Smile Brilliant package That comes with molding trays and clay, your whitening gel, desensitizing gel, and all the instructions you need.
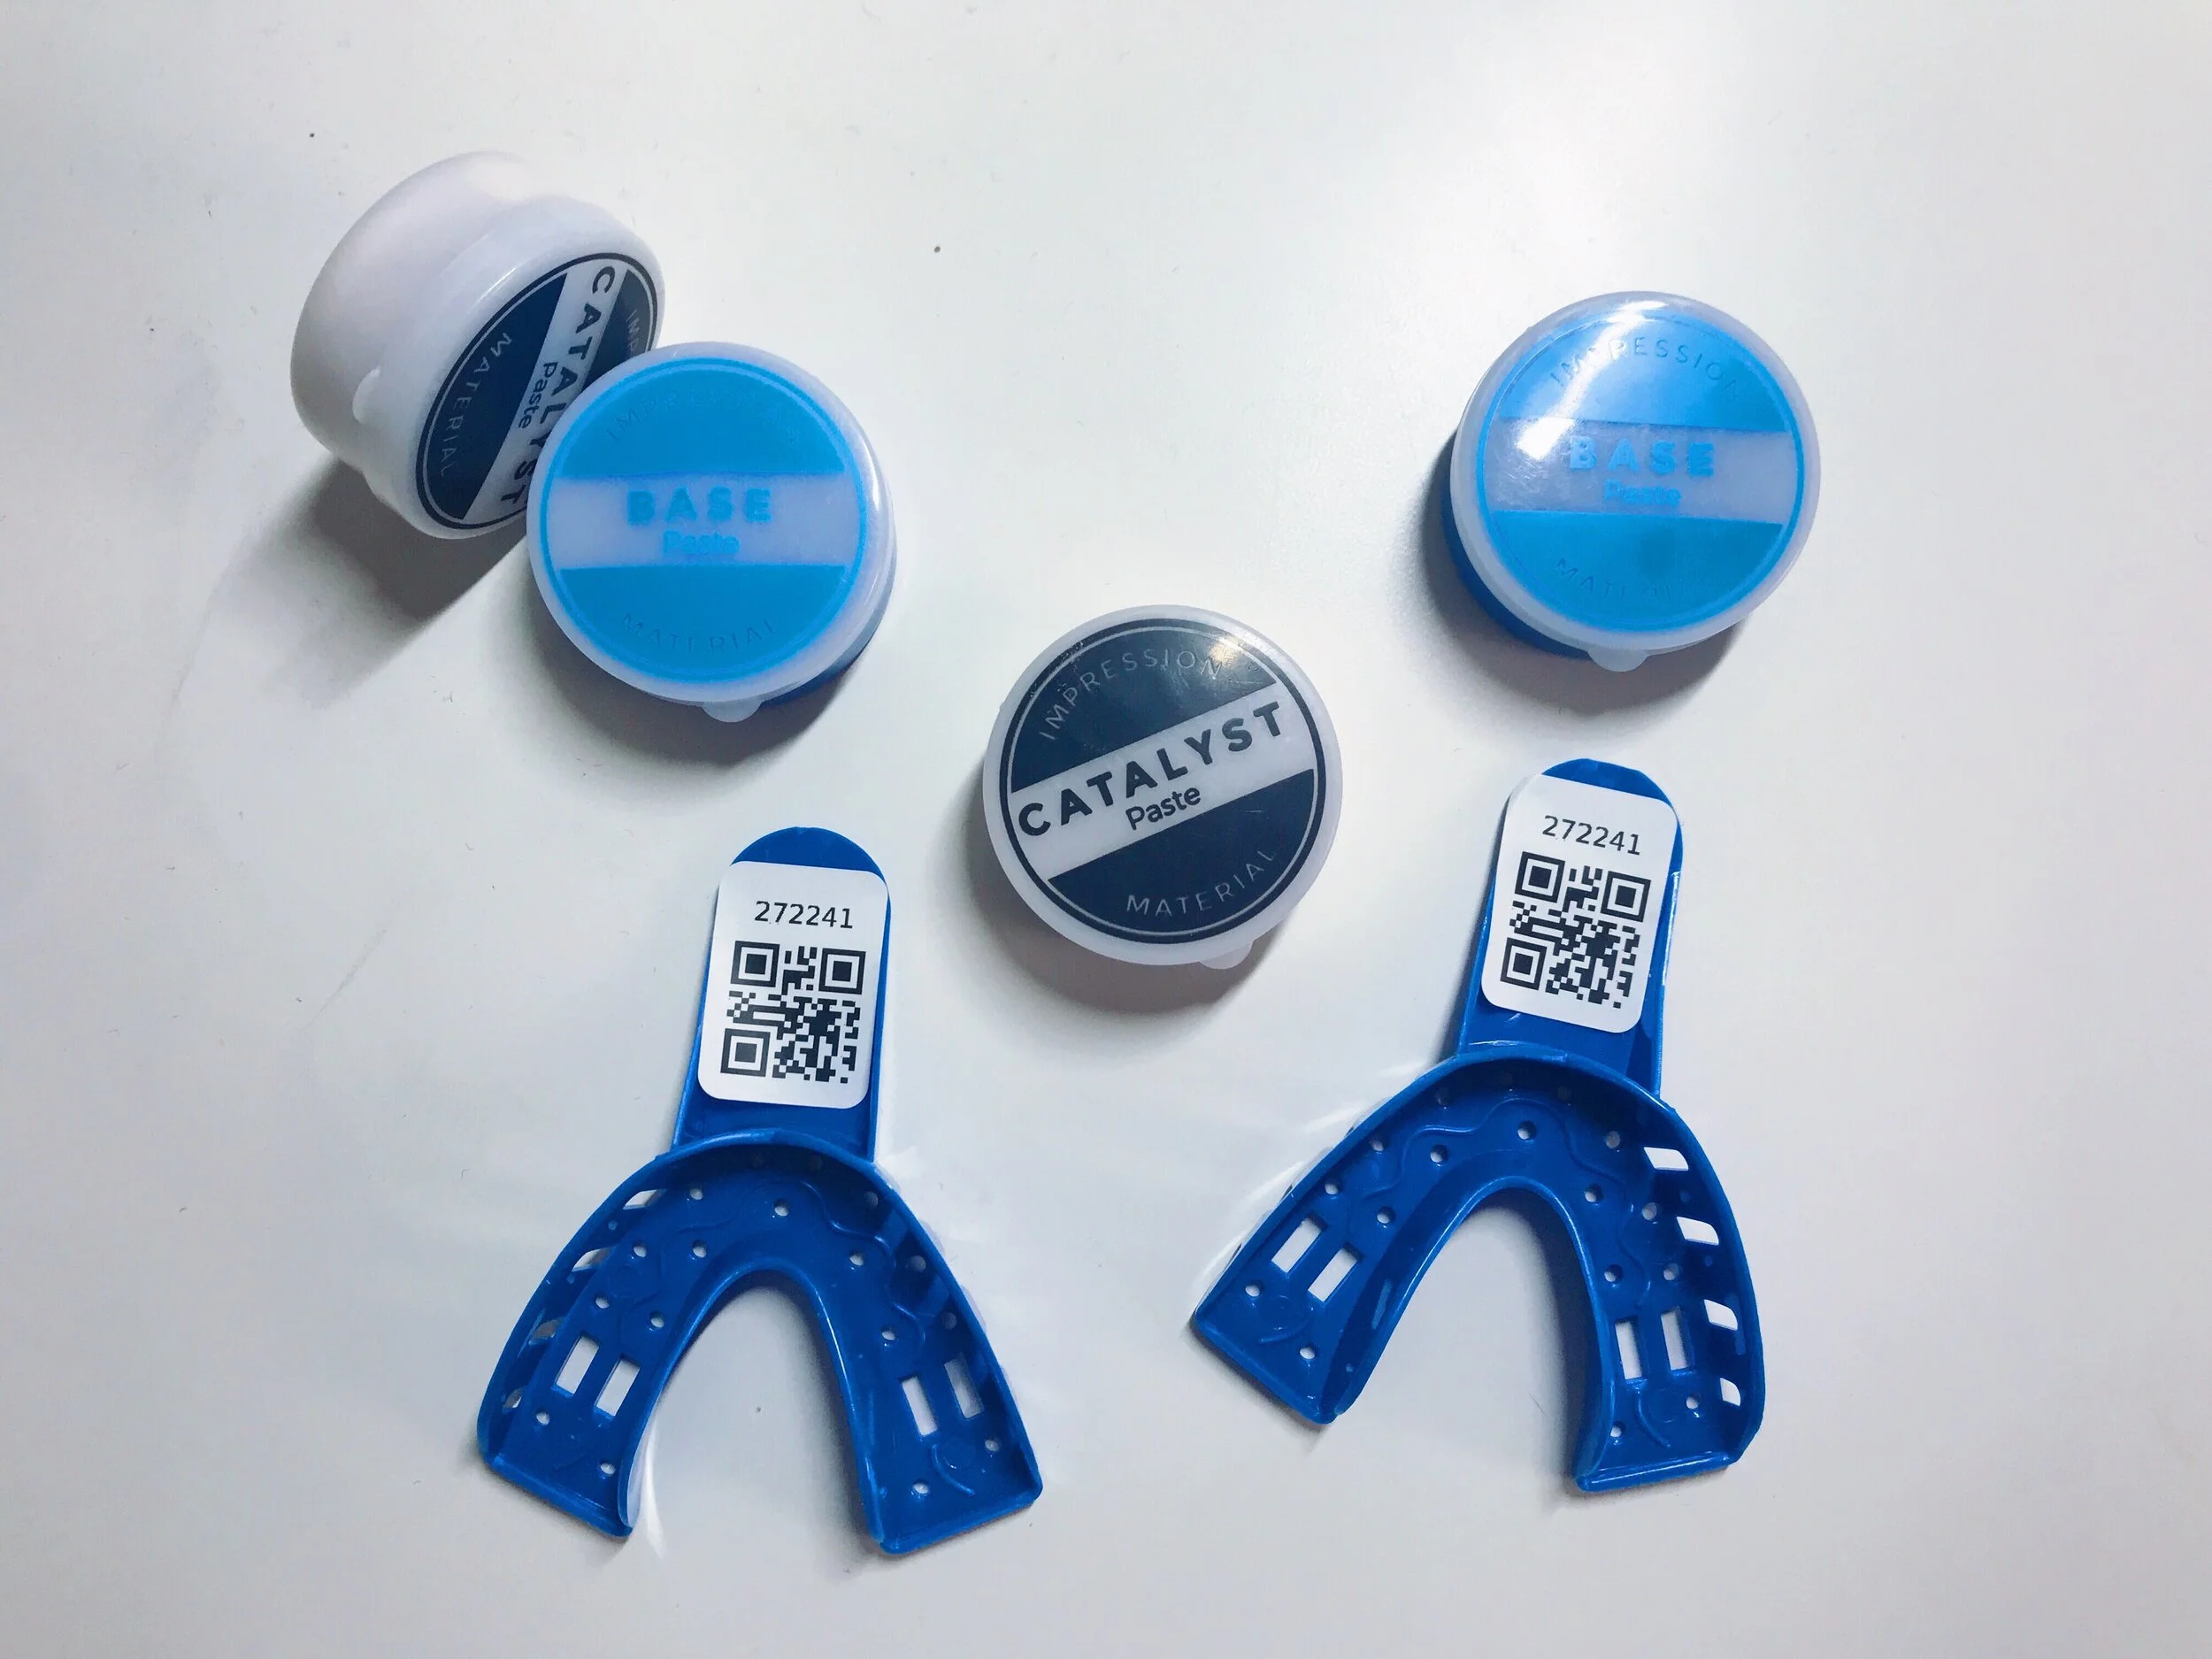
Your first step is making the molds for your trays. You mix together the two-part putty to get what you're pressing your teeth into. You put this in your little blue trays, and then mold your teeth. They give you a ton of do's and don't's for this part of the process to make sure you get it just right for what their doctors need! Then you'll send that in with your pre-provided mailbag, and wait for your trays!
Once your trays get in, you can do your little happy dance because YAY you get to start whitening! Make sure to brush your teeth with water first to get rid of any food particles that could get in the way of the whitening. Then you'll apply a thin line to the front of your trays (you don't need to overload it with gel like you have to do with some of your old whiteners - so cool!) and get going! Smile Brilliant suggests putting a little Vaseline over any gum areas you're worried about irritating, but I took this tip and actually used it in a different way. I have one molar that is SUPER sensitive, so I put some Vaseline in my mold where it would be hitting that tooth and it perfectly blocked the whitening gel from irritating that molar.


My second favorite part about this whitening process is the ease of the whitening time. As I already mentioned, the trays sit in your mouth seamlessly so you barely even notice they're there. In addition to that, I didn't have an gel leak or excessive saliva problems *because* they sit so well on your teeth and you're not overloading them with gel! It was so nice to not have to sit over the sink and spit every other minute while whitening. I actually sat in bed and got a TON or work done while whitening - It was pretty great.
My third (and final, I promise) favorite thing about the Smile Brilliant whitening process? They cater to people with sensitive teeth. If you're worried about sensitivity, once you're done whitening you can throw some desensitizing gel into your trays, leave that on for about 15 minutes, and then you're good to go! Perfectly white teeth without any of the normal struggle or pain.


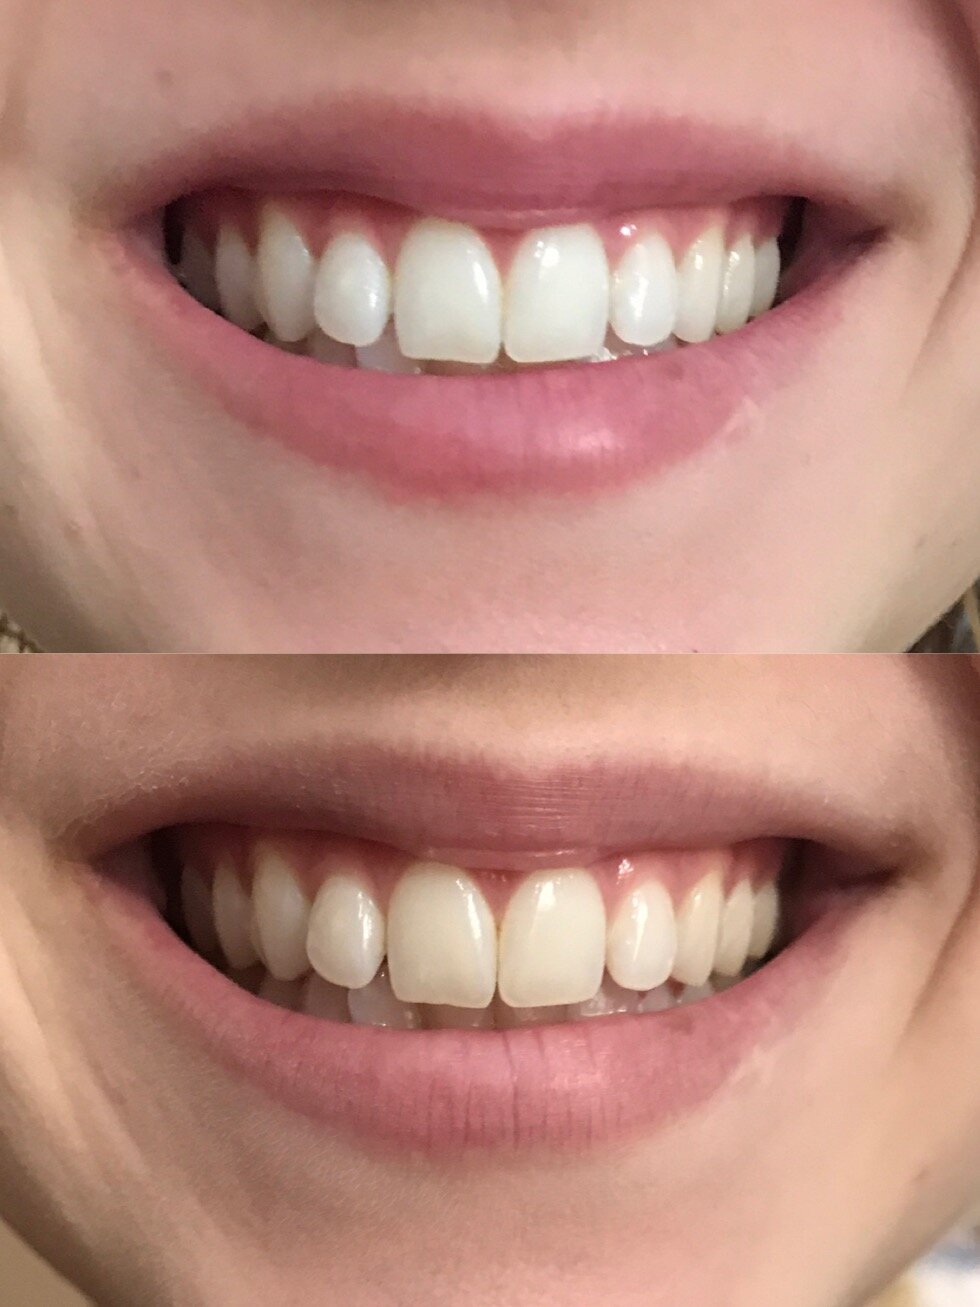
I'm honestly so excited about the Smile Brilliant brand and my new white teeth. I really didn't think there was a whitener out there that I could actually enjoy using until I found this one. My yellow teeth is something I've always struggled with, and now I can smile with no problem! Maybe y'all will start seeing some more pictures with my face actually in them from now on LOL!💁🏻♀️
And my personal opinion? Smiling with a friend is always 100% better - which is why Smile Brilliant and I are teaming up to give one of my lucky readers their own Smile Brilliant Teeth Whitening Pack for free!! I'm so excited to get to bless one of you with this incredible experience. So hit the link below to sign up, and hope you'll join me and #SmileBrilliant